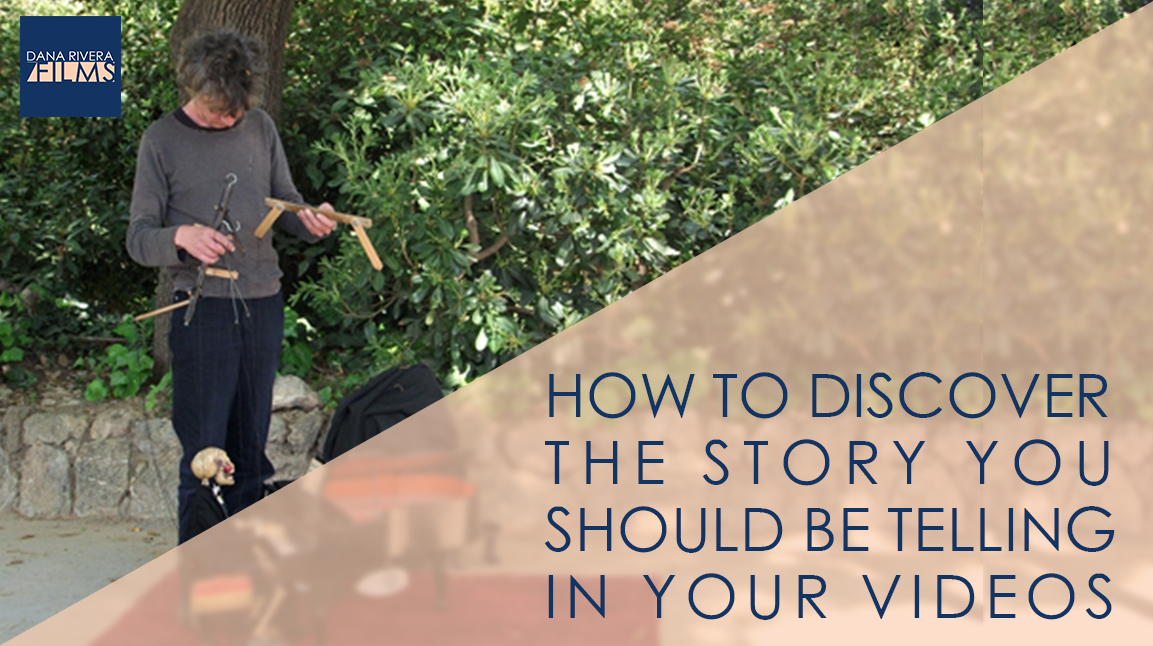
Whats Your Story? How to Discover the Story You Should be Telling in All of Your Videos
As an entrepreneur you have clients. Yes, your clients want to know how you can help them, but if you can make them care about what you care about and like you for who you are, you will have clients for life. Believe me your story is important, your story is human.
Today I want to talk about discovering what story you should tell.
There is one thing that I do when I lose sight of my big why and it always brings me back to the same story:
- Find a quiet place without a computer or somebody to distract you. Somewhere where you feel completely comfortable.
- Bring a journal or notebook
- Ask yourself “why am I doing this?” Then just write. and when you hit a stopping point ask yourself why again and again and keep writing. Yup, just like that annoying thing that kids do. You need to do this to understand the root of your story, what it all comes back to on a very human level.
Go back to that moment when you were 15 years old and you organized a school event for homelessness awareness. When after visiting the activity where you experience how homeless people have to survive an 8 year old boy, with tears in his eyes, looked up at you and asked you to give his jacket to a little boy who needs it. And what started as an assignment turned into a passion for coordinating fundraising events. Or when you showed your first client their senior portraits and she was speechless, not believing that she could look so beautiful. And for the first time in years she let her mom hang up a picture of her in the entryway to their home. That’s when you decided you had to show young women how beautiful and confident they can be.
For me, it was when I created a documentary film for class about my grandmother’s immigration from Cuba. On the second day of filming she sat in a big blue recliner chair and told me about the day her neighbor’s son was taken by the authorities, never to be seen again. She kept repeating the word never and when she finally stopped, she looked off to the side in the direction of the window. It was the first time I had seen my grandmother at a loss for words, but her eyes said it all. That’s when I knew I had to tell people’s core stories. It’s my family and furthering my grandmother’s dream of giving her family a future full of opportunities that inspired me to start my own business. I want to be of service to others and make my family proud.
So to discover your story it’s going to take courage and pushing yourself until you’re exhausted. Until you have ONE, very, very specific moment that you seem to come back to time and time again no matter how many times you do this exercise.
If you want more tips to creating online video, download your guide to the Top 5 Video Tools that will help you make beautiful online videos for your business by clicking the button below. By signing up you’ll also get exclusive Tips, Tricks, How-to’s and my personal insights about Online Videomaking that I only share in email. If you liked this post please comment and share. I’d love to hear from you.
Download the "How to Reach, Grow, & Teach Your Online Community" guide AND be of service like crazy!
Pick and choose the types of video you'd love to create, get your tools, and start creating!