I’m sure at some point in your life you’ve experienced that awful feeling of losing an important or sentimental photo or video. As a video professional I’ve done it too! When I was in film school and editing my first family event, my sister’s sweet 15, I had all of the files and the project file that I was editing in, all on one hard drive and ONLY ONE hard drive. One day, as I was editing, the hard drive fell off my desk, unattached from the computer, and hit the ground. There was no saving it. I wanted to cry. Thankfully, I still had the mini-DV tapes with the raw footage (yes, old school mini-DVs); so I could start over. But I learned a very important lesson: I would never have footage in only one place, and I’d be much more careful about where I stored my hard drives, memory cards, DVDs, and other media. I developed backup systems for my projects, as well as my personal family files. It has become such a habit that now I don’t even think about them. I wanted to share my system of preserving all of my family memories with you so you never have to go through the pain of losing any. Also, some bonuses from using this system are that you will free up space on your phone, always have an empty memory card, and have everything in 3 places: Computer, DVD, and in a Cloud Service.
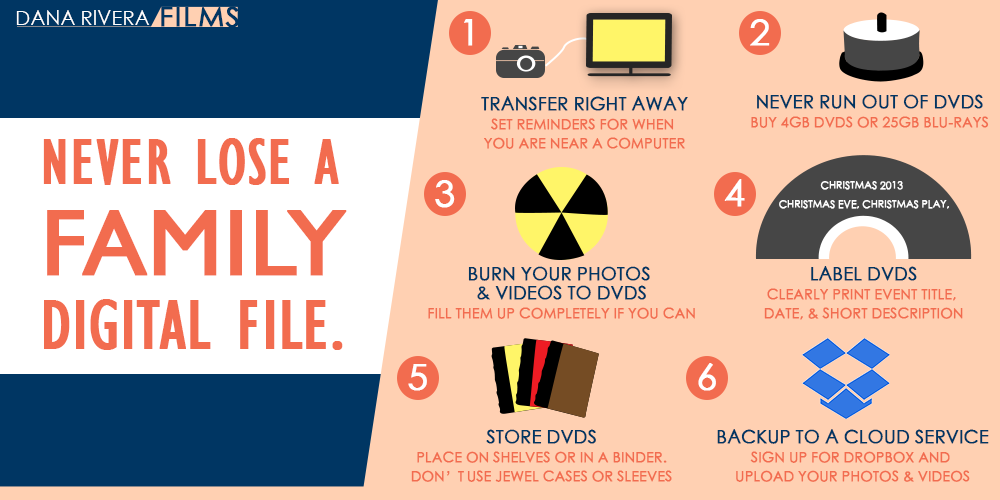
If you NEVER want to lose another family digital file, follow this system:
1. Transfer your photos or videos to your computer right away. If you put it off chances are you’ll forget and your memory card will get loaded with event after event. You won’t know what you’ve backed up and what you haven’t. If you absolutely can’t get to your computer right away, set a recurring reminder on your phone weekly or monthly depending on how often you take pictures or video. Make sure it is at a time that you are likely to be near your computer.
2. Buy a pack of DVDs and never let yourself run out. There are two options:
The DVD: holds 4gb of data, which is roughly 2000-4000 jpg photos, or 3.5-4 hours of video depending on your camera settings. Remember the higher the quality of your photos or videos, the less will fit on one DVD. You can buy a 100 pack on Amazon for $24.99. Your local Staples also has similar pricing.
The Blu-ray disc: holds 25gb of data. I personally use Blu-rays only because I have a Blu-ray burner, and I am dealing with a high volume of high quality files, such as RAW photos and MOV video files. If you want to look into Blu-rays and Blu-ray burners just click on the link. I recommend this burner because it is slim and portable.
3. Burn all of your photos and videos onto a DVD.
If you are on a Mac:
Double click on the blank DVD that you just put into the computer. Then, you can start to drag files over to the DVD’s finder window. Be sure to look at the bottom of the window to see if you have gone over the 4gb of space. If you do, you’ll have to drag some files out of the burn window, until it is below or at 4gb. Try to fill the DVDs up as much as you can so you don’t waste any space. Click Burn when you are ready and enter a title for the DVD (see step 4 below for how to label/title your DVD).

If you are on a PC:
When you insert the disc a message will popup asking you what you want to do with the DVD, choose “Burn Files to Disc”. Then title your DVD (see step 4 below for how to label/title your DVD). Choose “like a USB flash Drive” so that you will be able to drag and drop files from the DVD much like a USB drive. Then drag your files over to the DVD folder that has popped up. Click on “burn to disc” when you are ready.
Side Note: A tool like Toast is great for organizing and burning files onto DVDs. It works on PCs and Macs. The main advantage is that you can import all of your files without having to use trial and error to figure out how many of your files you can fit on a DVD. Toast will automatically spit out DVDs when they have run out of space, and then ask you for a blank disc to continue burning. It even shows you how you should label each disc so you don’t lose the order. Toast also does not split your files across DVDs so you don’t have to worry about any corruption.

4. Label DVD accordingly. Use a sharpie to record event or project title, date, and short description. For example:
Christmas 2013
Christmas Eve, Christmas play, Trip to NYC Rockefeller’s center
Write down any details that will be helpful to you in finding what you will need later.
5. Store on a shelf or in a DVD binder. Don’t use jewel cases; they take up more space. Don’t use individual sleeves either. It’ll be harder and more frustrating when you try to look for your files later and have to pull out each individual DVD to read the label. Be careful not to place in extreme temperatures, nor a space that is heavily used. Here is how I store my DVDs:

There are many options of binders that can compliment the design of your space, so don’t think that you have to stick to the standard not-so-pretty binder.
6. I also recommend backing up to a cloud service. Dropbox is great for cloud storage. You can even have your computer back up to Dropbox automatically. There are a couple of different ways to get more free space such as getting friends to sign up, linking your social media accounts or buy some space for $9.99 a month. However, you never know what will happen to these services since they are out of your control, so always have a DVD backup. Once you have two backups (on your DVDs and in the cloud), you can clear your computer without any worries.
Although this system will cost you some money, what you really have to think about is how priceless those baby photos, old photos of your grandparents, or home videos of your daughter’s 1st birthday really are. Not to mention that for less than $40 you can put your mind completely at ease. So start backing up your files.
If you want more tips on family memory keeping, fill out the form below to get on our storyteller list. If you loved this post don’t forget to share and comment. Happy Memory Making!
Download the "How to Reach, Grow, & Teach Your Online Community" guide AND be of service like crazy!
Pick and choose the types of video you'd love to create, get your tools, and start creating!
