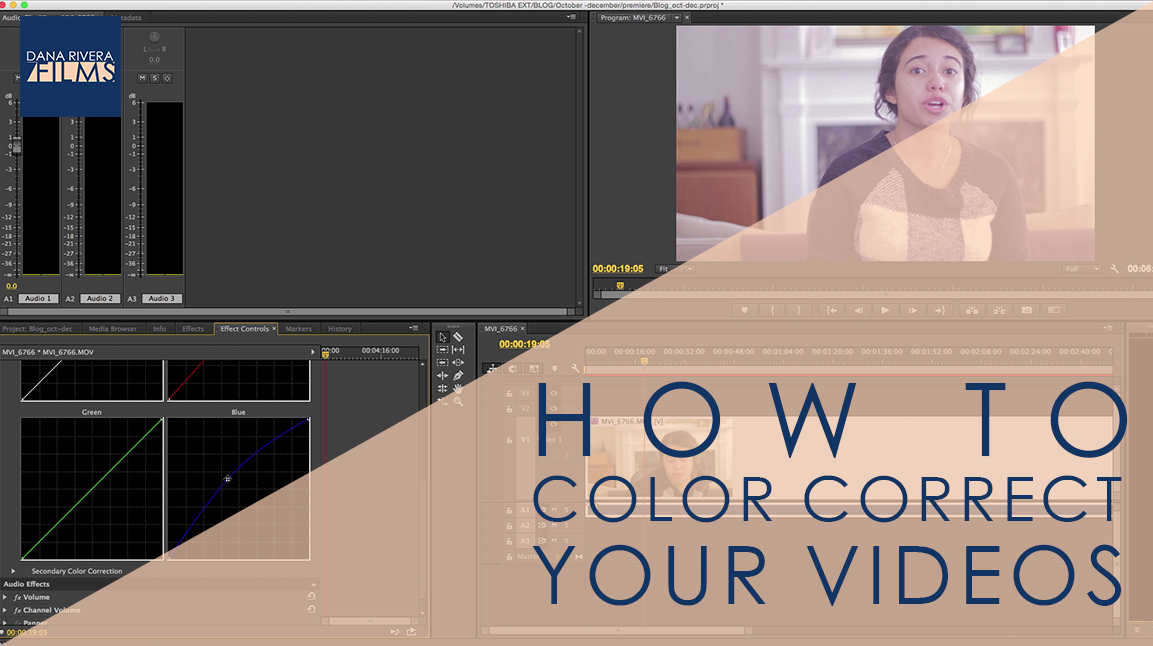
In this video, we are going to talk about color correcting and even saving your footage in post!
SO let’s define what color correction is. In editing you can do this magical thing where you change the color of your footage and adjust the brightness and darkness. So let’s say your video is too dark or too blue and your skin tone just doesn’t look right. With a few controls you can adjust the image so that it looks more natural.
Before we jump into how to use the tools let’s talk about the theory behind it. Color in a video signal is made up of only three colors Red, Green, and Blue.
So that yellow in your image is made up of a combination of Green and Red. Think back to elementary school and how colors combine to make others. So if your image is too yellow you’ll have to lower the level of the Green and Red in the image or increase the blue. If you don’t have skin tone looks too bland or grey try increasing the red and decreasing the blue.
Now, I’m going to show you the tools in iMovie and Camtasia and you can see exactly what I mean.
In Camtasia there are two effects called Color Adjustment and Colorize. You can drag it onto your clip and then the controls pop up over here on the right.
What I recommend you do is apply color adjustment first. Bring all of the values to 0, that way you can see the starting state of your video.
Then if you need to brighten or bring up or down the contrast. If you want to make the colors richer bring up the saturation. Then you can add colorize to add more of one color to balance things out.
There’s a funny trick that pro editors and filmmakers use. When we shoot or color correct we first flatten out the image, which means taking out the richness of the colors. This makes it much easier to then tweak your colors and get a great balanced image. So we will do this by bringing down the saturation. Then we use colorize to add the colors back in in the right proportion.
Let’s move over to iMovie. All you have to do here is open up your project file and click on a clip. Up here right above the preview of the video there are two icons. One that looks like a circle that’s half black and half gray and an icon that looks like a painters palette.
Click on the circle and you’ll see that you can choose “auto” which lets iMovie do its own thing. I don’t recommend using this feature. Then there’s the match color, white balance and skin tone balance features.
Match color allows you to make sure that your videos colors match. So let’s say you were filming in front of a window and the sun started to go down, so half of your footage is brighter than the other and some is maybe more orange. This feature allows you to pick the frame that you want the clip you chose to match.
White balance fixes the issue of your video being too yellow or too blue so what you would do here is use the eyedropper to choose the part of the frame that you want to match the rest of the frame to. In iMovie this feature doesn’t work as well as in the more professional programs. You can also use this little on and off switch to compare the video to before and after the change you applied.
I personally like the painters palette feature much better. So here you can adjust color temperature to add more blue or more yellow. You can adjust the darkness, brightness, and quality of the midtones. And finally you can adjust the saturation or richness of your colors.
And that’s how you color correct. So remember that you have to think in Red, Blues, and Greens and really evaluate what your image needs to look better.
Now, I’d like to hear from you, what’s your biggest video question? Let me know in the comments below.
If you liked this video, don’t forget to subscribe and share it with your friends. If you want more, come on over and the Storyteller Circle, my private Facebook group filled with wonderful entrepreneurs like you that are looking for more support in crafting their video stories and an inspirational community. I adore the people in this group so I post some of my best stuff there. When you join you’ll instantly get a bonus gift “How to Reach, Grow & Teach Your Online Community With Video”. Just click the button below. And remember Tell Your Story. Inspire Action. Make a Change. Thanks for watching and I’ll see you next time!
If you liked this post please comment and share. I’d love to hear from you.
Want to use video to grow your biz AND be of service like crazy?
Get your guide to pick and choose the types of video you’d love to create, get your tools, and start creating!

