Room Tone

Room Tone

Hi Storytellers! Happy Filmmaking Thursday


Ambient noise and room tone are something we all have to deal with when creating videos.


There are a lot of tips and tricks you can use to minimize annoying background noise but there are 3 things you need to know first.


1. Every single room has background noise. This is just something we all have to accept. Unfortunately, there is no magical noise-free room or set up that you should be using. Everything in a room creates vibrations and sound that can show up in your video.


2. Mics can help combat background noise. Microphones ensure that your voice is louder than the background noise surrounding you. Make sure you’re always using top quality mics and sound equipment no matter where you are.


3. Some noise issues can be fixed in editing, but don’t rely on that. With the right editing equipment, getting rid of ambient noise is not too difficult. But ambient noise can have the same frequency as our voices, making it impossible to get rid of that noise without also altering your own voice.


Now, I’d like to hear from you, what’s your biggest video question? Let me know in the comments below.   If you liked this video, don’t forget to subscribe and share it with your friends. If you want more, come on over and the Storyteller Circle, my private Facebook group filled with wonderful entrepreneurs like you that are looking for more support in crafting their video stories and an inspirational community. I adore the people in this group so I post some of my best stuff there. When you join you’ll instantly get a bonus gift “How to Reach, Grow & Teach Your Online Community With Video”. Just click the button below. And remember Tell Your Story. Inspire Action. Make a Change. Thanks for watching and I’ll see you next time!  If you liked this post please comment and share. I’d love to hear from you.

Download the "How to Reach, Grow, & Teach Your Online Community" guide AND be of service like crazy!

Pick and choose the types of video you'd love to create, get your tools, and start creating!

You got it! Check your inbox!

Want to use video to grow your biz AND be of service like crazy?

Get your guide to pick and choose the types of video you’d love to create, get your tools, and start creating!

Audio Editing Foundations: The Waveform

Audio Editing Foundations: The Waveform

Hi Storytellers! Happy Filmmaking Thursday!

I know what you’re thinking. What are waveforms?

Well, waveforms are those funky looking lines that represent your audio. The height of the lines indicate the volume of the audio at that point. The lines oscillate between tall and short, depending upon the volume of your audio. When the lines are tall that means that at that point the level of the audio is louder than at the point where the lines are shorter. Moments where you don’t see any lines means that there is no audio or the audio is really low.

Waveforms are super useful when editing because you can quickly find spots where you were thinking and not speaking, and cut them out without even having to watch the clip.

Or let’s say you use this awesome strategy from DIY Video Guy https://www.youtube.com/watch?v=NHzr9T_MWe8,  where you clap 5 times to mark your good takes and snap 3 times to mark your bad takes. With this strategy, you can just go into the waveform and make some quick cuts.

I use these audio cues from the waveform all the time to edit. You can also use waveforms to see if your video is too quiet or too loud, and then adjust it.

Now go on and spend some time with waveforms. They will be your best friend when trying to edit videos quickly.

If you liked this post, don’t forget to subscribe and share it with your friends. If you want more, come on over and join the Storyteller Circle, my private Facebook group filled with wonderful entrepreneurs like you that are looking for more support in crafting their video stories and an inspirational community. I adore the people in this group so I post some of my best stuff there. When you join you’ll instantly get a bonus gift “How to Reach, Grow & Teach Your Online Community With Video”. Just click the button below. And remember Tell Your Story. Inspire Action. Make a Change. Thanks for watching and I’ll see you next time!

If you liked this post please comment and share. I’d love to hear from you.

Want to use video to grow your biz AND be of service like crazy?

Get your guide to pick and choose the types of video you’d love to create, get your tools, and start creating!
Video Editing Foundations: The Cut

Video Editing Foundations: The Cut

Hi Storytellers! Happy Filmmaking Thursday!

I was surprised to find out that many women entrepreneurs couldn’t find a tutorial that taught them the basics of video editing. I thought for sure there must have been some out there. But since I saw so many people asking for it, I thought I’d create it myself. Today we are starting out with the most basic element of video editing: The Cut.

So let’s jump in. For this we are going to be using Camtasia.

The first thing you always want to do is make sure your files are organized on your computer. Watch this blog post to get that straightened out http://www.danariverafilms.com/organizevideofiles

Once your files are ready to go, you’ll want to open up Camtasia. Drag and drop your video files into the program’s browser and you’re ready to start.

The cut is the most important tool in editing. A cut usually has a beginning and an end. Let’s say you want to cut out a mistake you made. You’ll need to cut it off from the original file at the beginning and end of that mistake. The first thing you need to do is bring the clip down to the timeline.

Next, you need to locate the mistake you want to cut out and drag the playhead to that time in the timeline. You always want to play the clip starting at your selection to make sure you are getting to the beginning of the part you want to cut. You can use the arrow keys on your keyboard to fast forward or rewind with increased accuracy.

OK, so now you are at the beginning of the part you want to cut out. You can go to edit, and then split selection at playhead. You’ll see in the timeline that there is now a split in your clip. You can also use the keyboard shortcut “command T”, on a MAC, to accomplish this. Now you’ll have to go to the end of what you want to cut out and hit “command T” to cut at that position as well.

At this point, you can simply select the clip you cut and delete it. You can also trim the clip by dragging the second half of your split clip from the first cut you made to the end of what it is that you need to cut out. Now all you have to do is move the two edited parts of the video next to each other and play it through!

And that’s how you create a cut! Remember that a cut has a beginning and end and you need to know both positions to make a great cut.


If you liked this post, don’t forget to subscribe and share it with your friends. If you want more, come on over and join the Storyteller Circle, my private Facebook group filled with wonderful entrepreneurs like you that are looking for more support in crafting their video stories and an inspirational community. I adore the people in this group so I post some of my best stuff there. When you join you’ll instantly get a bonus gift “How to Reach, Grow & Teach Your Online Community With Video”. Just click the button below. And remember Tell Your Story. Inspire Action. Make a Change. Thanks for watching and I’ll see you next time!

If you liked this post please comment and share. I’d love to hear from you.

Want to use video to grow your biz AND be of service like crazy?

Get your guide to pick and choose the types of video you’d love to create, get your tools, and start creating!
How to Color Correct

How to Color Correct

In this video, we are going to talk about color correcting and even saving your footage in post!


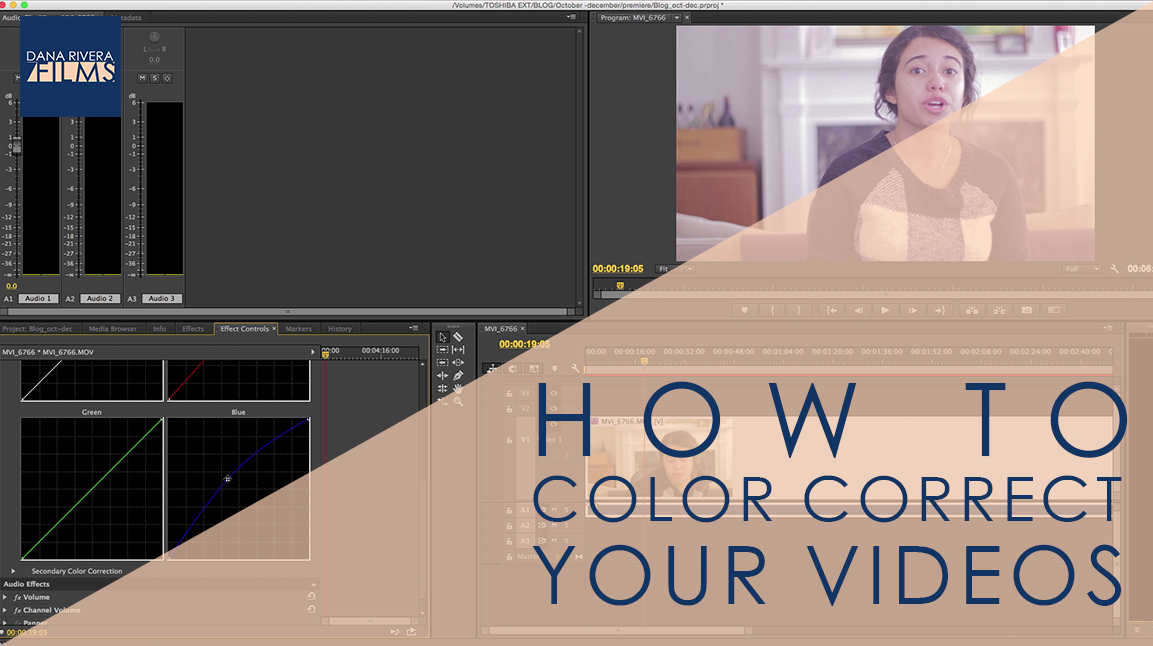
SO let’s define what color correction is. In editing you can do this magical thing where you change the color of your footage and adjust the brightness and darkness. So let’s say your video is too dark or too blue and your skin tone just doesn’t look right. With a few controls you can adjust the image so that it looks more natural.


Before we jump into how to use the tools let’s talk about the theory behind it. Color in a video signal is made up of only three colors Red, Green, and Blue.

So that yellow in your image is made up of a combination of Green and Red. Think back to elementary school and how colors combine to make others. So if your image is too yellow you’ll have to lower the level of the Green and Red in the image or increase the blue. If you don’t have skin tone looks too bland or grey try increasing the red and decreasing the blue.


Now, I’m going to show you the tools in iMovie and Camtasia and you can see exactly what I mean.

In Camtasia there are two effects called Color Adjustment and Colorize. You can drag it onto your clip and then the controls pop up over here on the right.

What I recommend you do is apply color adjustment first. Bring all of the values to 0, that way you can see the starting state of your video.

Then if you need to brighten or bring up or down the contrast. If you want to make the colors richer bring up the saturation. Then you can add colorize to add more of one color to balance things out.


There’s a funny trick that pro editors and filmmakers use. When we shoot or color correct we first flatten out the image, which means taking out the richness of the colors. This makes it much easier to then tweak your colors and get a great balanced image. So we will do this by bringing down the saturation. Then we use colorize to add the colors back in in the right proportion.


Let’s move over to iMovie. All you have to do here is open up your project file and click on a clip. Up here right above the preview of the video there are two icons. One that looks like a circle that’s half black and half gray and an icon that looks like a painters palette.


Click on the circle and you’ll see that you can choose “auto” which lets iMovie do its own thing. I don’t recommend using this feature. Then there’s the match color, white balance and skin tone balance features.

Match color allows you to make sure that your videos colors match. So let’s say you were filming in front of a window and the sun started to go down, so half of your footage is brighter than the other and some is maybe more orange. This feature allows you to pick the frame that you want the clip you chose to match.

White balance fixes the issue of your video being too yellow or too blue so what you would do here is use the eyedropper to choose the part of the frame that you want to match the rest of the frame to. In iMovie this feature doesn’t work as well as in the more professional programs. You can also use this little on and off switch to compare the video to before and after the change you applied.


I personally like the painters palette feature much better. So here you can adjust color temperature to add more blue or more yellow. You can adjust the darkness, brightness, and quality of the midtones. And finally you can adjust the saturation or richness of your colors.


And that’s how you color correct. So remember that you have to think in Red, Blues, and Greens and really evaluate what your image needs to look better.


Now, I’d like to hear from you, what’s your biggest video question? Let me know in the comments below.


If you liked this video, don’t forget to subscribe and share it with your friends. If you want more, come on over and the Storyteller Circle, my private Facebook group filled with wonderful entrepreneurs like you that are looking for more support in crafting their video stories and an inspirational community. I adore the people in this group so I post some of my best stuff there. When you join you’ll instantly get a bonus gift “How to Reach, Grow & Teach Your Online Community With Video”. Just click the button below. And remember Tell Your Story. Inspire Action. Make a Change. Thanks for watching and I’ll see you next time! 


If you liked this post please comment and share. I’d love to hear from you.

Want to use video to grow your biz AND be of service like crazy?

Get your guide to pick and choose the types of video you’d love to create, get your tools, and start creating!
Why Your Videos Aren’t Uploading

Why Your Videos Aren’t Uploading

Today, I am going to share with you why your videos aren’t uploading. We are going to get technical here because it is a technical answer, but hopefully it’ll give you some insight into why and how you can fix the problem.


When you send your edited video out of Imovie or Camtasia, what the program is doing is something we call exporting.

*It is taking your video and according to the settings you choose making it smaller and putting everything into one watchable file.

Most of the time you will be exporting for the web, so YouTube, Wistia, or Vimeo. Most of the editing programs has a preset for youtube and Vimeo. It’s that .mp4 that you usually end up with.


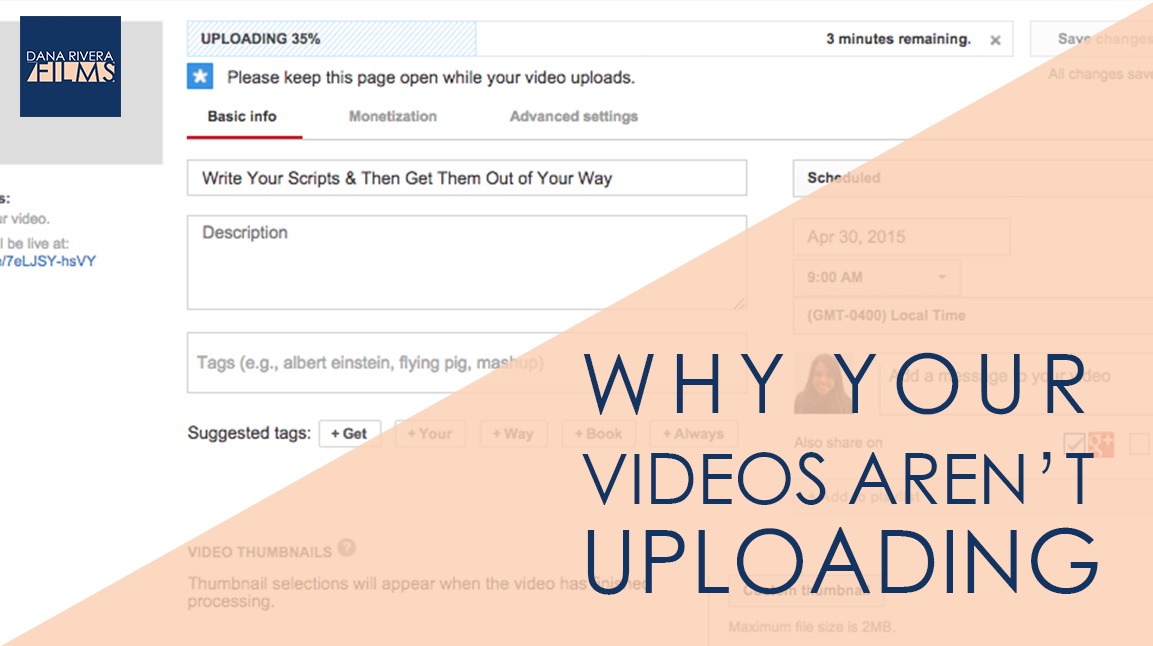
Those exported files are what gets uploaded to the web. Now, what slows down or crashes the upload process is a combination of two things: your internet speed and the bitrate of your exported file.


For HD 1080p video your target bitrate for youtube should be around 8mbps. That means that every second of your video will be made up of 8mb so for a 5 minute video that’s 2400 mb or 2.4 gb. The higher the quality of your video the bigger it’ll be.


Now, internet speed is broken down into download and upload speeds. It’s important to know both numbers, but what we are concerned with here is that upload number. If your internet upload speed is 2mbps which is usually part of an intermediate package, and you are lucky enough to have it running at full speed when you are uploading, it’ll take about 1200 seconds or 20 minutes. These are best case scenario numbers. Most of the time your internet speed will fluctuate especially during peak hours which are usually from about 5pm to 1am.


So you are going to run into some real upload issues if you are uploading let’s say a 30 minute file and your upload speed is 2mbps. It’ll take about 120 minutes or 2 hours. If you are doing this over wifi chances are your speed, isn’t at its max 2mbps and that 2 hours will increase and maybe even just crash as the speed starts to fluctuate.


But don’t lose hope because there are 2 ways to fix this: 

  1. Invest in a higher internet speed. 5-6 mbps should work great for you. It works for me and I’m constantly uploading videos.
  2. Export your videos at a lower resolution. You can still get HD video at 720p which is smaller than full HD 1080p. The bitrate for 720 is about 5mbps so for a 5 minute video your total would be about 1500 mb instead of 2400 and would take 12.5 minutes. And you’ll still have a great looking video.

Let me show you in Imovie and Camtasia how to change these settings.

In Imovie, go to share, then export using quicktime. Click on the Options button and then video settings. Make sure the compression is set to H.264. Go to the data rate, change to optimized for streaming and then put in your target rate which would be 5 mbps but its asking for kbits. There are 1000 kbits in a mb so 5mb would be 5000 kbits. So put in 5000 and hit ok. Then go to size and choose HD 1280 x 720 16:9 . Then hit ok, title your file and save it.
In Camtasia, we are going to put in the same settings. Go to Share, then advanced export. Change the file format to Quicktime movie. Then click Options. Make sure the compression type is H.264 and set the dimensions to 1280 x 720 HD. Then click ok, title it, and save. And that’s it!

*My last tip would be to make sure you are hardwired with an ethernet cable to really get your max speed.


So again

Your internet speed + the bitrate of your video = how long your upload is going to take

Don’t let these technicalities get in the way of getting your content online.

 
If you want more tips to creating online video, download your guide to the Top 5 Video Tools that will help you make beautiful online videos for your business Or if you really ready to dive in join my free course to Amp Up You Online Video Presence. By signing up you’ll also get exclusive Tips, Tricks, How-to’s and my personal insights about editing and using Online Videomaking in your business that I only share with my VIP storytellers.


If you liked this post please comment and share. I’d love to hear from you.

Download the "How to Reach, Grow, & Teach Your Online Community" guide AND be of service like crazy!

Pick and choose the types of video you'd love to create, get your tools, and start creating!
You got it! Check your inbox!

YouTube Annotations vs. Cards

YouTube Annotations vs. Cards

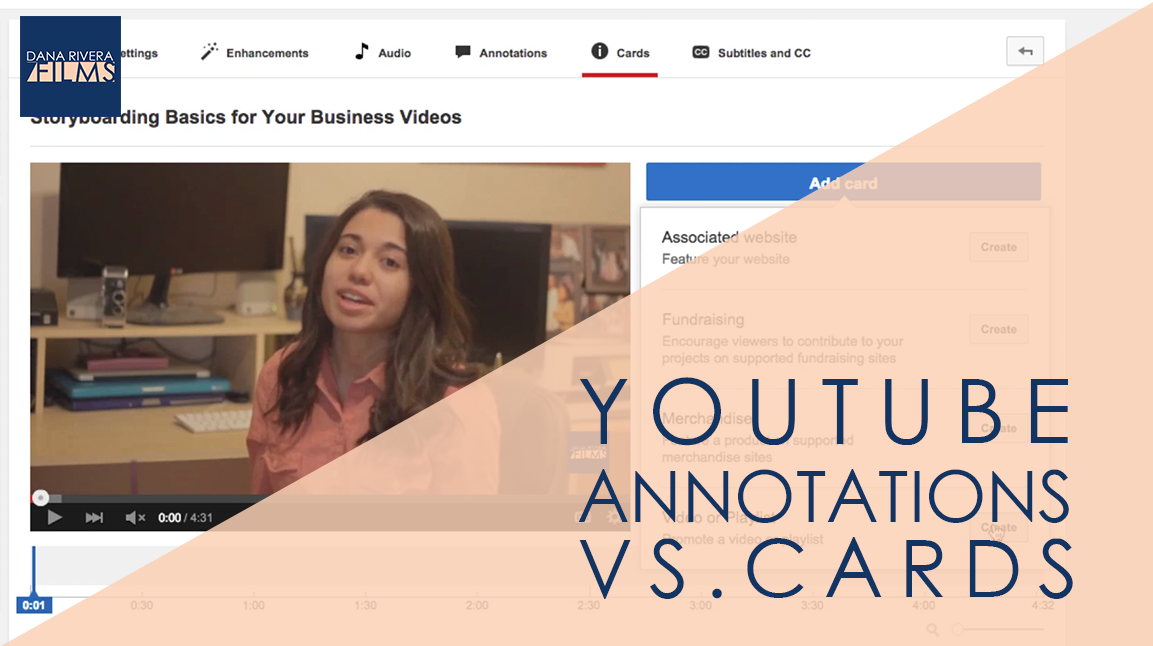
Today, we are going to be talking about the YouTube cards and annotations.

I’m sure you’ve heard about the new card feature that Youtube just released that will eventually replace annotations. They both allow you to link directly on your videos to your call to action whether that is to sign up for your email list, purchase your product, or check out another one of your videos.


Originally this was going to be all about how to use annotations properly, but since cards came out I thought I’d tell you about the three things you should know.

1. Cards are mobile friendly

This is huge because the use of mobile devices is growing everyday. Now, all those people who couldn’t click directly to your website before now can.

2. You can upload images to cards and it really is just nicer looking

This is what they look like. You can see that it looks pretty nice, you get an image that’s attractive and a title there, so you don’t have to create an image in editing that you then link with annotations.

3. You can’t move cards around or choose their size

You can move around and change the colors of annotations, but you can’t for cards. AND you are limited to five per video.


Now let me show you how to add an annotation vs how to add a card.

For an annotation click on the edit button for video you want to work with in your video manager. Then click on annotations at the top. Then you can click on a point in the video that you want to add an annotation here at the bottom. On the side you can choose the type of annotation. If you click through them you can see what they do. The one I use most often is spotlight because I usually create the images that I want to link while I’m editing the video. So I create a spotlight annotation over it, set the duration and then link it.

Annotations are as easy as that. One thing you want to make sure you do is have your website verified in your settings so that you can link to it in your annotations.


Now this is how you add a card. Click on cards right at the top. Again choose the time you want the card to pop up, then  click Add Card. THen choose what type of link you are adding. Type in your url and then the rest of your options should pop up. You can upload an image, add a title and call to action text. And then click Create card and there you go.


So let’s recap, the three big differences between annotations and cards are

  1. Cards are mobile friendly
  2. You can upload images to cards and it really is just nicer looking
  3. You can’t move cards around or choose their size

 
If you want more tips to creating online video, download your guide to the Top 5 Video Tools that will help you make beautiful online videos for your business Or if you really ready to dive in join my free course to Amp Up You Online Video Presence. By signing up you’ll also get exclusive Tips, Tricks, How-to’s and my personal insights about editing and using Online Videomaking in your business that I only share with my VIP storytellers.


If you liked this post please comment and share. I’d love to hear from you.

Download the "How to Reach, Grow, & Teach Your Online Community" guide AND be of service like crazy!

Pick and choose the types of video you'd love to create, get your tools, and start creating!

You got it! Check your inbox!

Page 1 of 212